How To Create Realistic 3D Water and Ocean Effects
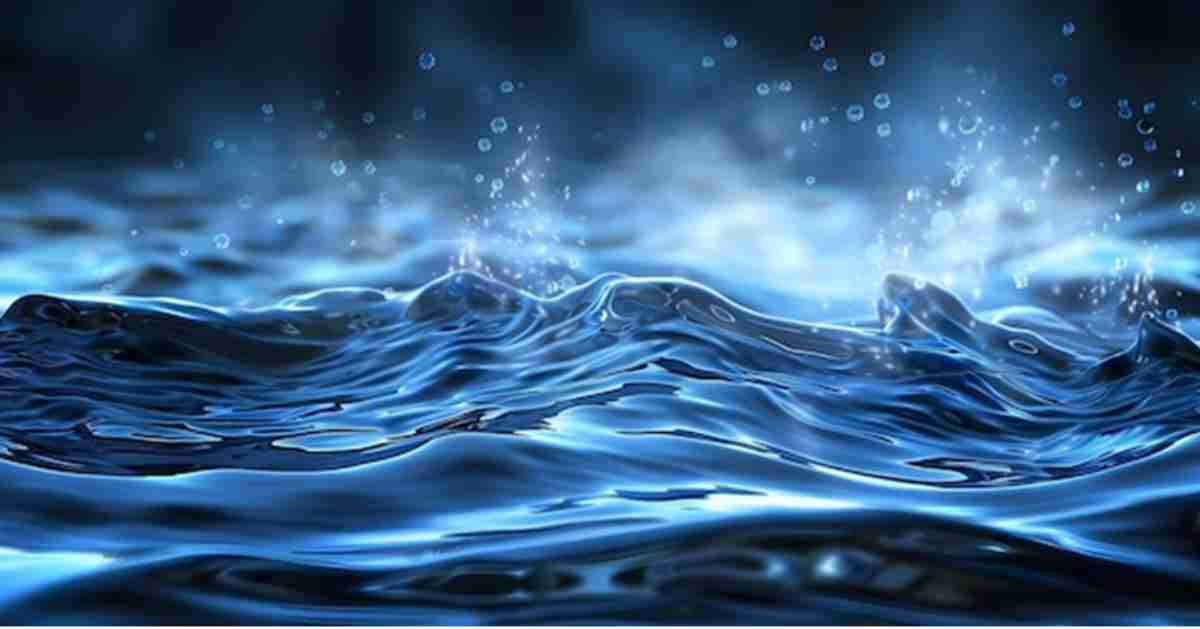
Creating realistic water and ocean effects in 3D requires blending artistic skills with technical knowledge. Whether for video games, films, architectural visualizations, or other media, water is an essential element that adds realism and depth to your 3D environments. Achieving lifelike results involves understanding water behaviors, mastering the software tools at your disposal, and combining the visual effects of reflection, refraction, and movement. This blog will explore the techniques, tools, and tips for creating stunning 3D water and ocean effects.
Core Principles of Realistic 3D Water
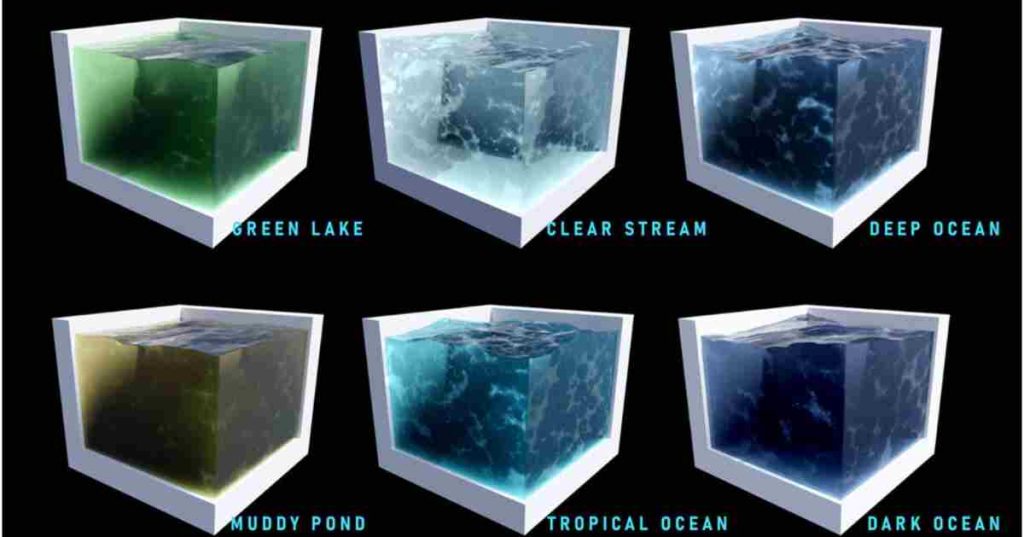
To successfully simulate realistic 3D water, it’s important to understand a few core principles that govern how water behaves in real life. These include:
- Reflection and Refraction: Water is highly reflective, especially when the angle of incidence between light and the surface is low. This creates mirror-like reflections. At the same time, light is refracted, or bent, when passing through the water surface, creating a distortion effect for objects below the water.
- Surface Movement: Waves, ripples, and water movement are integral to creating natural-looking water. These elements rely on physics simulations or procedural textures to behave believably.
- Lighting and Caustics: Realistic water responds to lighting with varying degrees of reflection and translucency. Sunlight or ambient light creates caustics—concentrated rays that shimmer across the ocean floor. Water’s translucency depends on factors like depth, clarity, and impurities, which add realism when correctly mimicked.
Choosing the Right Tools for 3D Water Simulations
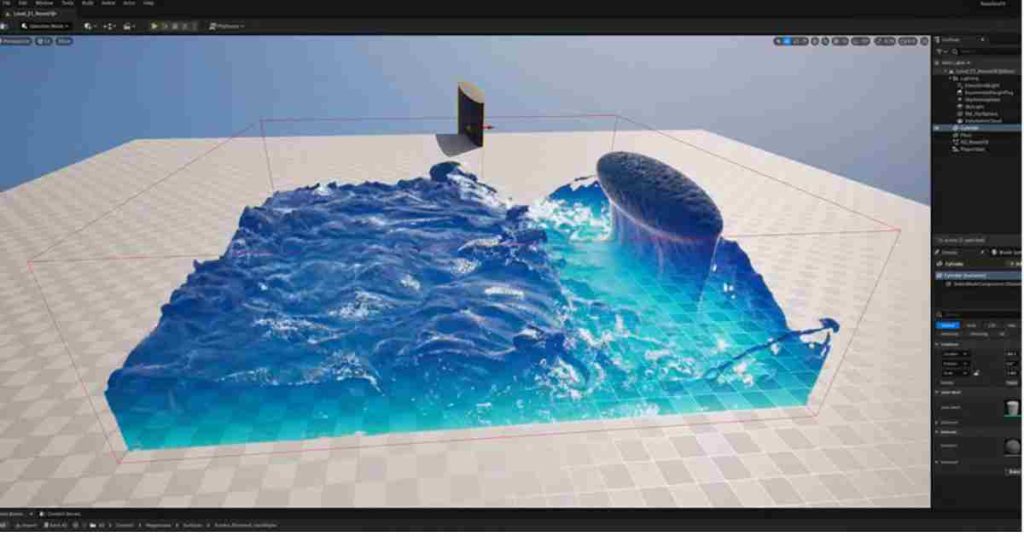
Several 3D software and plugins specialize in water simulation. The proper tool choice will depend on the complexity of your scene and the desired results:
- Blender: A popular free tool with impressive fluid simulation capabilities through Mantaflow, a fluid dynamics engine. Blender’s ocean modifier is also excellent for simulating large bodies of water like seas or oceans.
- Houdini: Best for complex, realistic water and fluid motion simulations. Film often uses it for its depth and flexibility in creating waves, splashes, and even large-scale ocean effects.
- Unreal Engine: Offers real-time simulation of water, excellent for video game environments. Its Water system provides dynamic simulation, allowing realistic interactions between objects and the water.
- V-Ray, Redshift, Arnold: These rendering engines offer high-end simulation for realistic light behavior, helping bring out reflections and refraction effects in the water.
Each of these tools supports various features that help you craft and design 3D environment.
Step-by-Step Guide to Creating Realistic 3D Water Effects
1. Creating the Water Base
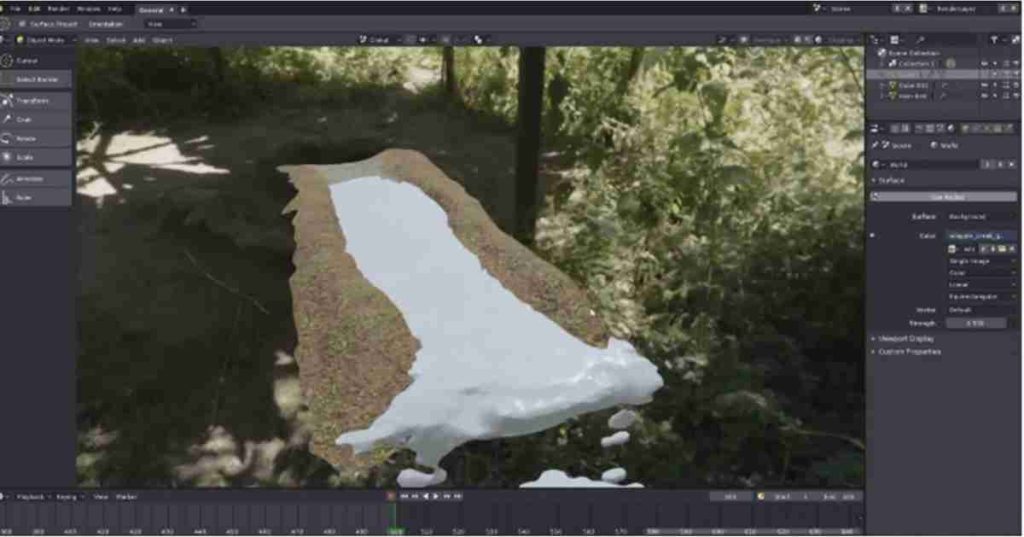
Start by creating a flat surface that will serve as the base of your water scene. Use a simple plane or grid object in GIS-Based Modelling. Be sure to scale the surface appropriately to suit the size of your scene. For large bodies of water like oceans, you might need a larger, less detailed grid to save processing power.
Next, apply a basic water shader. Water materials rely on translucency and reflection in tools like Blender or Maya. Use low diffuse reflection, high specular reflections, and minimal colour to achieve realistic water. Additionally, water shaders must be configured with Fresnel effects so that light reflects at shallow angles and water appears more reflective near the surface.
2. Simulating Water Movement
Once the base is set up, you can add realistic movement. Use either displacement maps for subtle effects like ripples or go deeper with fluid simulation for larger-scale motions.
For calm waters like ponds or lakes, a noise-based displacement map can generate gentle ripples. These maps control the vertical displacement on the water surface, creating more complex movements.
For dynamic, realistic ocean waves, use fluid simulations or procedural wave generators. In Blender, this can be achieved with the Ocean Modifier, which creates repeating, fluid-driven waves. This can mimic the behavior of natural bodies of water, from rolling swells to crashing waves. For higher fidelity, you could simulate each wave separately, incorporating multiple layers of turbulence and currents.
3. Refining Reflections and Refractions
Realistic reflections and refractions will elevate the realism of your water. To create true reflections, make sure your water surface has a high reflective index. Use ray tracing (or a similar tool) to achieve true-to-life reflections. Position the light sources strategically to enhance reflections, making them consistent with the setting.
Refraction occurs when light bends through the surface of the water. The distortion is visible in shallow bodies of water as objects appear stretched or distorted beneath the surface. For deeper waters, refraction becomes subtler. This can be controlled via shader settings or added within the fluid simulation itself.
For realism, make sure both effects react to scene elements, like sun positioning or nearby objects, to ensure that they interact correctly with the water’s movement.
4. Lighting and Rendering for Realism
Water’s appearance changes dramatically depending on the light in the scene. Dynamic lighting is essential to showcasing its reflective and refractive properties. Using HDRI maps (High Dynamic Range Images) can provide natural light sources, like skies or sun, reflecting beautifully on the surface of the water.
Underwater effects can be simulated using volumetric lighting. The further you go beneath the surface, the lighter scattering occurs. Applying a bluish tint to underwater scenes and decreasing light intensity will help simulate depth. Water will filter out some wavelengths, so objects that would be clearly visible above the surface may become vague or more diffuse underwater.
Rendering settings are key to capturing the effects properly. Enable ray tracing in your rendering software (such as V-Ray, Arnold, or Cycles) for the most accurate light interactions.
[Read About:Camp Lejeune Water Contamination]
5. Adding Realistic Details: Caustics and Foam
Caustics refer to the focused light patterns created when light passes through water. These are often visible in pools or in the ocean, where sunlight reflects on the seafloor. Simulating caustics adds an extra level of realism to your water. Many advanced renderers, like V-Ray and Arnold, offer caustic simulations.
Foam is another detail that adds realism to turbulent water. For example, breaking waves create foam at their crest, which can be added via particle systems, textures, or simulation. In Blender, use the Fluid Simulation tool to create foam particles or manually add foam textures to the water surface using mapping techniques.
6. Texturing and Adding Final Touches
Textures such as ripples, turbulence, and wet sand are the final steps in ensuring that your water looks highly realistic. Applying surface textures like wet sand on shorelines or pebbles under shallow water can make a huge difference. These elements give depth to the environment and add variety to the water’s surface.
Refine all textures by adjusting their scale, brightness, and alignment, especially when they interact with dynamic simulations. The slightest misalignment can break the illusion of realism.
Exporting and Final Adjustments
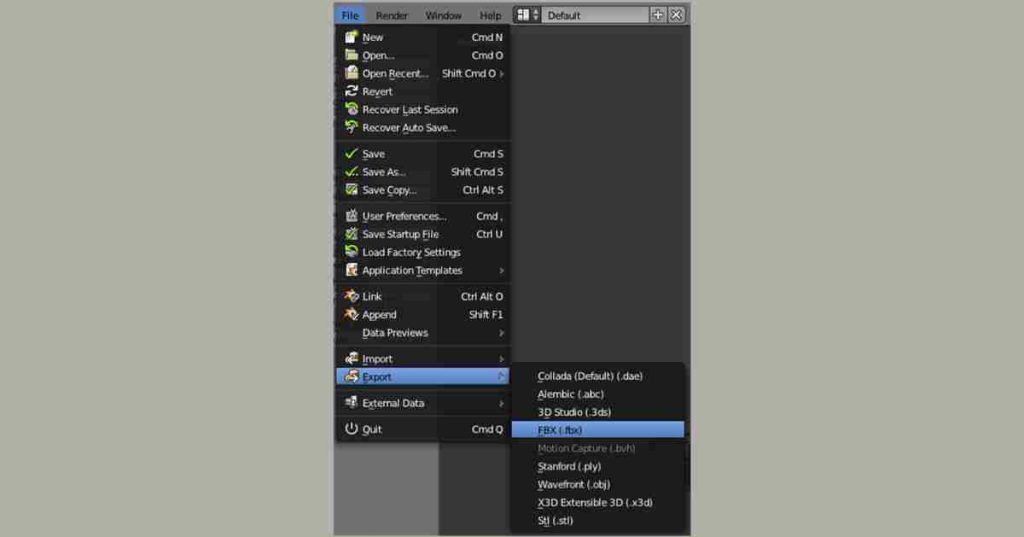
Once your water is fully simulated and textures, lighting, and details are complete, it’s time to render. Ensure you’re using high-resolution render settings to capture the fine details—whether you’re showing real-time water in a video game or generating cinematic quality ocean scenes for a movie.
Final tweaks can be made during the compositing phase, where reflections and refractions can be enhanced, the intensity of caustics can be adjusted, and any additional post-processing effects can be applied to the rendered image or animation.
Conclusion
Grasping the creation of realistic 3D water effects requires a thoughtful approach that combines creative vision with technical proficiency. By understanding the foundational principles of water behavior, choosing the right software tools, and paying attention to every detail—from fluid dynamics to lighting and rendering—you can create convincing 3D water and ocean simulations.
With continued experimentation and experience, you’ll be able to develop even more sophisticated scenes, enhancing your 3D visuals in films, games, and digital art with breathtaking realism.
